During my second semester here in Japan, I took a calligraphy class, which was very fun and interesting. I hadn't done any calligraphy before I started taking this class and I learned a lot of things from it. In this post I would like to share my experience.

So these are the basic tools, that you will need if you want to practice calligraphy. In the center you can see the special Japanese calligraphy paper. You cannot do calligraphy on normal paper. The Japanese one sucks the ink in very fast, as the normal paper keeps the ink on the surface, and makes it impossible to write kanji beautifully.
On the paper you can see my two brushes. The big one is for writing kanji and the small one is for writing hiragana.
There is also a paperweight, that keeps the paper in place, while you write.
Under the paper, there is a mat. My table is black and the mat is dark blue so it guess, that it's quite difficult to see, but it is there.
On the right you can see a red brush mat, in which you wrap your brushes after you have used them. It's made of bamboo and it keeps the brushes safe.
On the left you can see a black box. This box contains an ink stone (on the lower part of the box) and the ink itself (in the upper part of the box).

This is a close-up of the ink. You can see how pretty it is. It also has a very nice aroma.


The materials shown above are more expensive and high quality. In this picture you can see brushes and paper that can be found in the hyakuen shops (100円店). Of course, they are cheaper and have lower quality. I didn't like the brushes from the hyakuen, but I think that the paper is very good.
On the photo below you can see the ink from the hyakuen shop. It's already in liquid form, which makes it easier to use.


This is a bag, in which you keep all your calligraphy materials.

This is how the bag looks on the inside.

These are wrapped brushes and the box, in which the ink and the ink stone are kept.

These are the samples, that the teacher writes and gives to you so you can practice. The colour is actually a very pretty orange-reddish color, but my camera isn't very good so they seem more orange.


This and the above are some basic lines, that you have to practice before you start writing actual kanji.


This is hiragana.


Here you can see the sample, that the teacher gave me and my tries to write the same thing. You can also see how the teacher has corrected my mistakes with the orange ink. There are more samples like this below.


This is the scroll, that I had to write and make a speech about at the end of the class.


These are works of other students, that you can see in the university building.

These are the final works of my classmates and I.


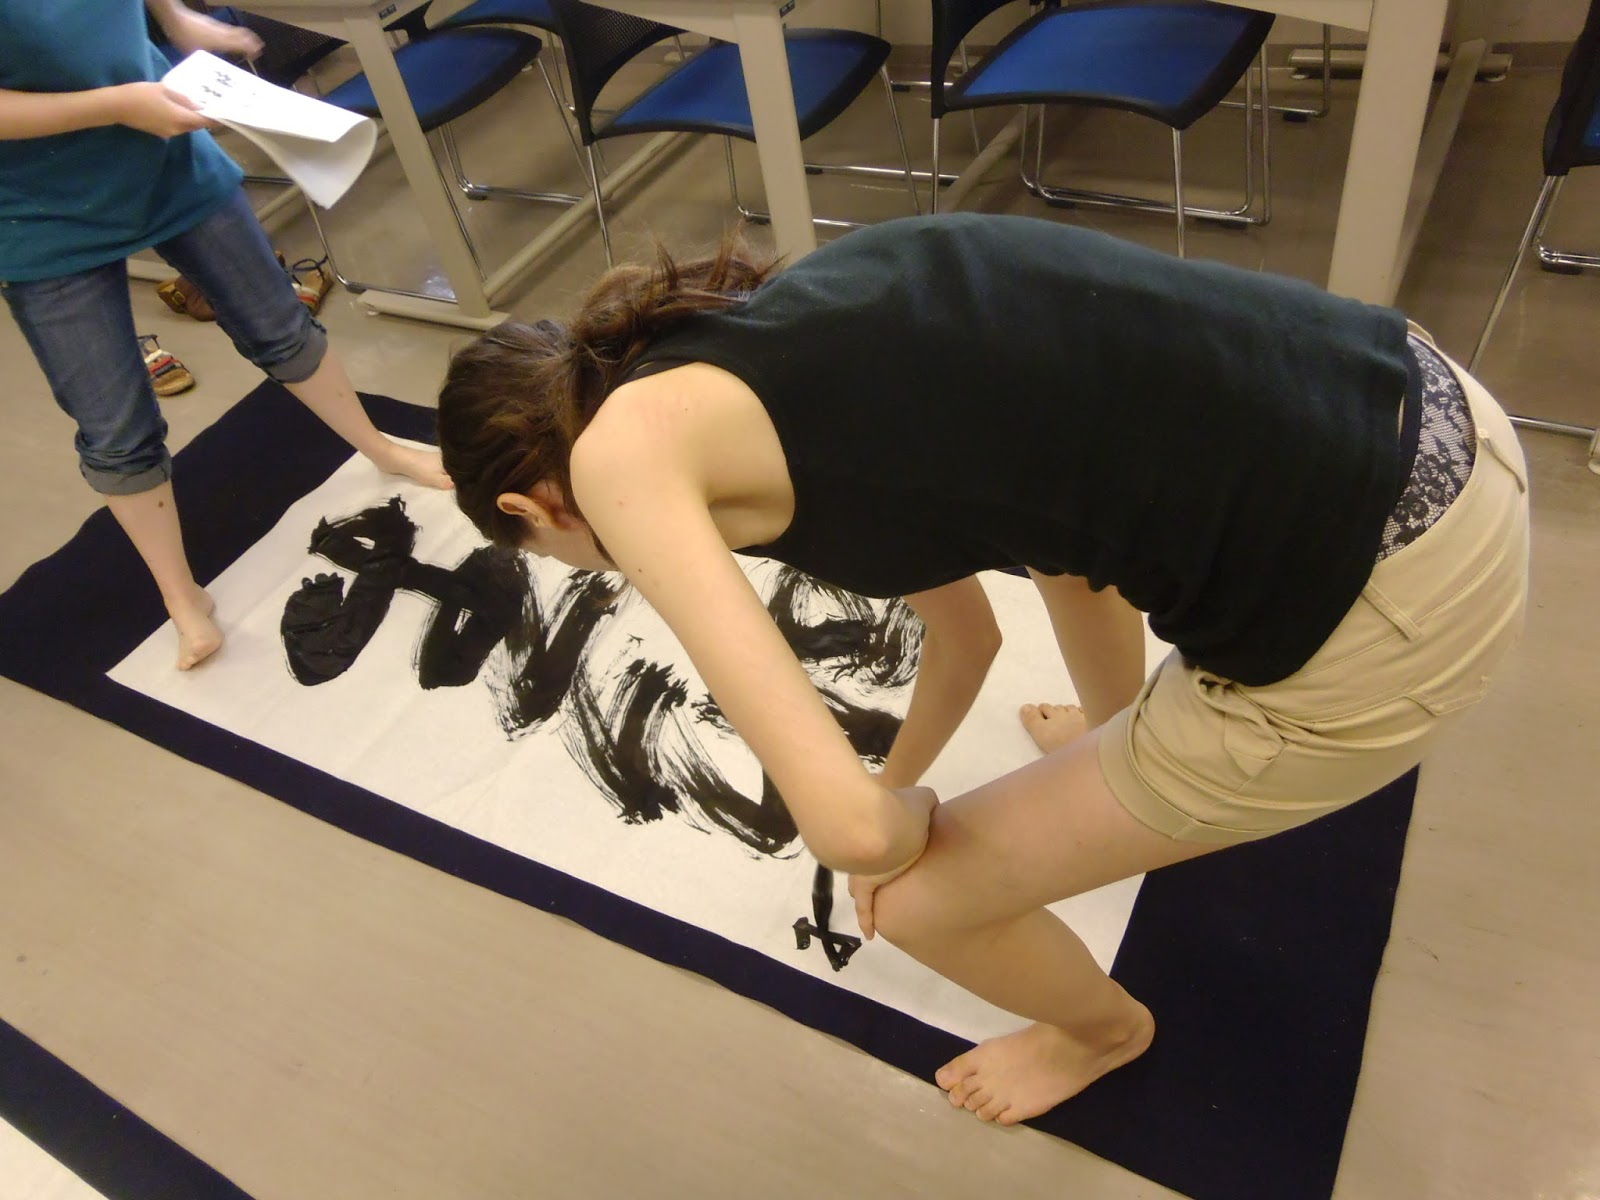
This is the preparations for writing calligraphy on 1,5 meters long paper. It was really fun. You can see some of the students writing calligraphy on the photos below.


And finally, these are the calligraphy seals, that I carved myself during our final lessons.The small one is 月, which means moon and the big one is 喜, which means happy, cheerful.


No comments:
Post a Comment